4-Step OBD Install Guide
Plug in and start tracking.
-
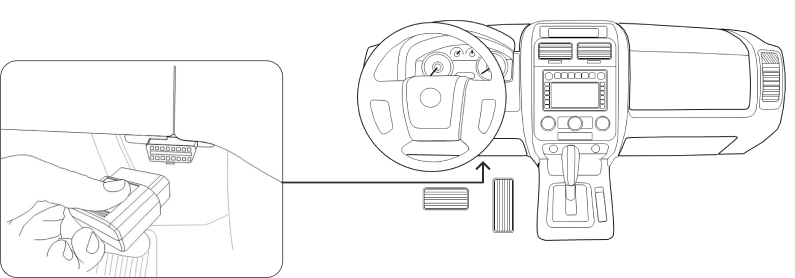
Plug the OBD device into your vehicle's OBDII port.
The port is usually located on the driver's side, below the dash.
All 4 LEDs on the device will flash for 1 second.
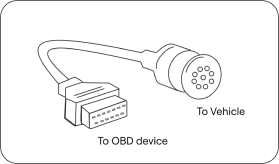
Note: Some vehicles, like heavy trucks and vehicles manufactured before 1996, may require an adapter to connect your OBD device. Adapters will be provided in the packaging.
-
Wait 1 minute with the vehicle OFF.
-
Turn the vehicle ON.
All 4 LEDs will flash for 1 second.

-
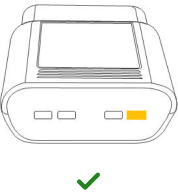
Wait 2-3 minutes for the device to fully connect.
The LEDs will flash 1 by 1. Once the YELLOW LED stays lit, GPS tracking is connected.
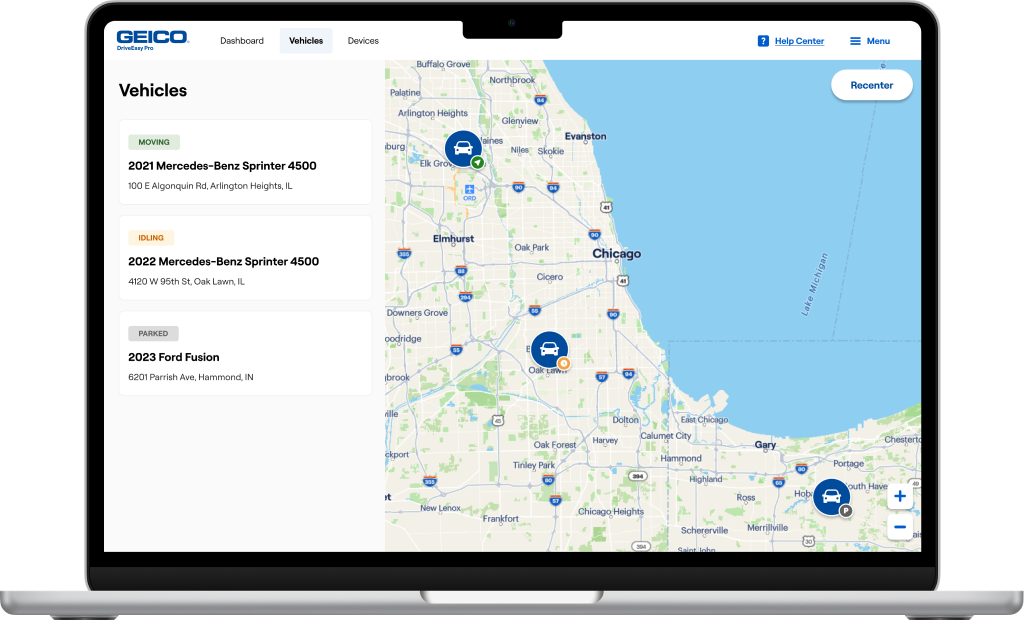
You're all set!
Track your vehicle(s) online on the DriveEasy Pro Dashboard.
Keep your OBD device plugged in at all times to continue tracking.
DriveEasy Pro is not available in all states and situations. Premium rates will generally vary based on the driving habits logged by the program. All active drivers on the policy must participate. All provided devices must be installed and activated as outlined in the DriveEasy Pro program requirements and instructions. For more information, see the DriveEasy Pro User Agreement, Privacy Notice, and FAQs. *OBD plug-in devices and road-facing dashcams must be returned if a policy is cancelled or a participating vehicle is removed